


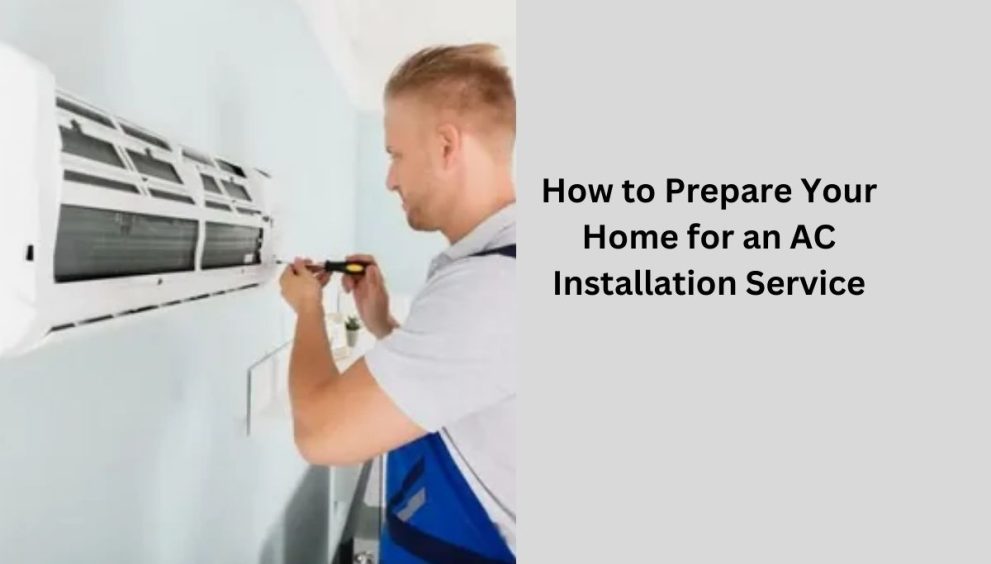
How to Prepare Your Home for an AC Installation Service
Installing an air conditioner (AC) is an important step in making your home more comfortable, especially in hot climates. But before the technicians arrive to install your new AC unit, there are some simple steps you can take to prepare your home. Proper preparation can ensure that the installation goes smoothly, the system works efficiently, and you can start enjoying cool air without any issues.
In this article, we’ll guide you through all the necessary steps you need to take before the AC installation service begins. Whether you’re installing a central air conditioning system, a window AC unit, or a split system, these tips will help you prepare your home for a smooth, hassle-free process.
Why Preparing for AC Installation is Crucial?
Before diving into the steps, you might wonder why preparation is so important. Well, a well-prepared home allows the technicians to work efficiently and can help prevent any unnecessary delays or issues. Proper preparation also makes sure that your AC installation is done right the first time, ensuring the system runs smoothly for years to come.
Note: Searching for reliable AC Installation Service in Dubai? Choose a trusted provider who understands the importance of proper setup. AL NASAIM (النسیم) AC DUCTING DUBAI delivers expert installation with high-performance AC systems. Whether it’s for your home or business, we ensure your system is installed to perfection. Call today to schedule your installation and ensure a cool, comfortable environment!
When your home is prepared, you make the technician’s job easier and help avoid problems such as poor airflow, system inefficiency, or unnecessary damage to your home. It’s all about creating an environment where the installation process can go smoothly and quickly.
Steps to Prepare Your Home for AC Installation
1. Clear the Area Around the Installation Site
The first thing you need to do is to clear the area where the AC unit will be installed. Whether it’s a window, a wall, or the ceiling, the space needs to be free of obstacles. Moving furniture, decor, and any other items out of the way ensures that the technician has a clear path to the installation area. This will help speed up the process and reduce the chance of accidental damage to your belongings.
Why is this important?
AC installation service units are often heavy, and the installation process may require drilling holes or lifting the unit into place. If the area is cluttered, it can slow things down or make the job more challenging for the technicians.
Tips:
- Move any large furniture or appliances out of the way.
- Remove delicate or fragile items that could get damaged during the installation.
- Ensure the floor is clear of any rugs or obstacles.
2. Make Sure the Installation Site Is Accessible
Access to the installation site is key to an efficient installation. For central AC installation service units, the installation site is often outside, where the outdoor unit needs to be placed. For window or split systems, access to windows or wall spaces is necessary.
Why is this important?
If the technician can’t easily reach the installation site, they may have to spend extra time moving obstacles or find alternative solutions, which can lead to delays. Ensuring that the site is accessible speeds up the installation and prevents any disruptions.
Tips:
- Ensure that gates, doors, or hallways are open for easy access to outdoor installation sites.
- Check that windows or walls are easy to reach for indoor units.
- If you have a backyard or a rooftop installation, make sure technicians can safely access those areas.
3. Provide the Technician with Basic Information
Before the installation day, it’s helpful to communicate with the technician. This includes providing them with essential details such as the type of AC installation service you’ve purchased, the location for installation, and any specific requirements or concerns you might have.
Why is this important?
Knowing these details in advance helps the technician prepare their tools and equipment. If there are any special needs (like additional power outlets, specific locations for ductwork, or access issues), they’ll know what to expect and can come prepared.
Tips:
- Confirm the model of the AC installation service unit and any special installation requirements.
- Discuss the location options for the outdoor unit if applicable.
- Let them know if there are any particular issues like low ceilings, limited space, or wiring issues.
4. Check for Electrical and Plumbing Requirements
For certain types of air conditioning systems, especially central air, you may need specific electrical or plumbing setups. It’s important to check if your home has the necessary electrical outlets and wiring to support the new unit. If any upgrades are needed, you should do so ahead of time to avoid delays.
Why is this important?
AC installation service systems require a stable power source. If your electrical setup isn’t up to the task, it could cause complications during installation or, worse, problems with the unit’s performance down the road. Plumbing is also necessary for systems that use water, such as evaporative coolers or certain models of central AC.
Tips:
- Ensure your electrical system can handle the added load of the new AC unit.
- If the system requires plumbing (for example, for condensate drainage), make sure those connections are in place.
- Ask the technician if any additional work needs to be done to your electrical setup before installation.
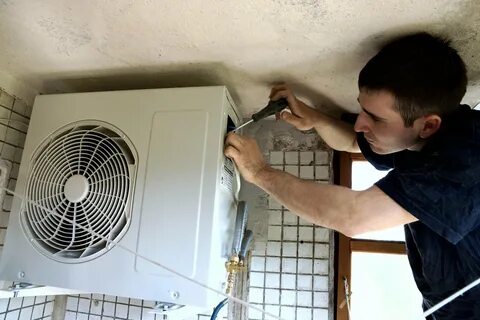
5. Remove Obstacles from the Outdoor Area
For central air conditioning systems, the outdoor unit needs space to breathe. This means there should be no obstructions like plants, fences, or other equipment around the outdoor unit’s location. The outdoor unit requires proper airflow to function efficiently, so keeping the area around it clear is crucial.
Why is this important?
Blocked airflow can lead to the AC installation service system becoming less efficient, overheating, or even malfunctioning. Ensuring that the outdoor unit has ample space to “breathe” will help it perform better and last longer.
Tips:
- Trim any overgrown plants or bushes that may block airflow around the outdoor unit.
- Clear the area of any debris, trash, or outdoor equipment.
- Ensure the outdoor unit is positioned on a flat, stable surface for proper function.
6. Turn Off Your Home’s Power and Water Supply
Before the installation begins, it’s a good idea to turn off the power to your home’s electrical system. This is for safety reasons, as the technician will be working with electrical components. Also, if your system requires plumbing, turning off the water supply is a precautionary step.
Why is this important?
Cutting the power prevents electrical accidents during installation. Turning off the water supply helps avoid accidental leaks or water damage.
Tips:
- Turn off the power at the main breaker box.
- Shut off the water supply if your system involves any plumbing.
- Make sure the technician knows that you have taken these steps for safety.
7. Remove Pets and Children from the Installation Area
Pets and young children can sometimes get curious during the installation process, and the noise or movement might stress them out. Additionally, the installation area can have tools, ladders, and other equipment that could be hazardous.
Why is this important?
Removing pets and children from the installation site keeps everyone safe. It also helps the technicians focus on the task at hand without distractions.
Tips:
- Keep pets in a separate room, especially if they are sensitive to noise or unfamiliar people.
- If you have small children, make sure they are in another part of the house during the installation.
- Inform the technician if any pets are nearby, so they can take extra care.
8. Be Available for Any Questions or Approvals
Sometimes, during the installation process, the technician might need to ask you questions or get your approval for certain steps. Whether it’s confirming the placement of the unit or checking the settings, being available will help ensure everything goes smoothly.
Why is this important?
Being available means you can make quick decisions and ensure that the installation meets your preferences. Delays in getting approval can cause the installation to take longer.
Tips:
- Keep your phone nearby or be present at home while the installation takes place.
- Make sure you are available to review the installation location or any changes.
- Stay in touch with the technician in case they need anything clarified.
9. Check for a Post-Installation Inspection
Once the installation is complete, it’s essential to conduct a quick inspection of the system. This includes checking that the unit is properly connected, that there are no leaks, and that it’s cooling as expected. The technician will typically guide you through this, but it’s good to be prepared.
Why is this important?
A post-installation inspection ensures that everything is functioning properly. If any issues are noticed early, they can be fixed before the technician leaves.
Tips:
- Ask the technician to show you how the system works and ensure it’s cooling correctly.
- Look for any signs of leaks or damage around the installed unit.
- Get clear instructions on how to maintain the system after installation.
Conclusion: Smooth AC Installation with the Right Preparation
Preparing your home for an AC installation service installation service is key to ensuring a smooth and efficient process. By following these simple steps—clearing the area, checking electrical and plumbing requirements, and communicating with the technician—you can make the process faster, safer, and more effective.
Remember, a well-prepared home not only helps the technicians but also gives you peace of mind that your new AC will perform well for years to come. With the right steps, you’ll be on your way to enjoying the cool, comfortable air in no time!
For More Insightful Articles Related To This Topic, Feel Free To Visit: bloggingshub.